Using dashboards
General
Dashboards are very useful for online monitoring of several slices simultaneously. You can create any number of your own dashboards and add any number of your slices to them. Users with extended access permissions already have one Default Dashboard.
Creating new Dashboards
- Click the Dashboards drop-down menu on the u-Slicer navigation panel.
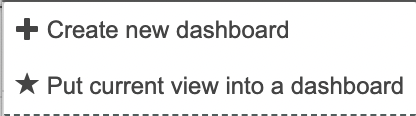
- Click the appeared Add dashboard button.
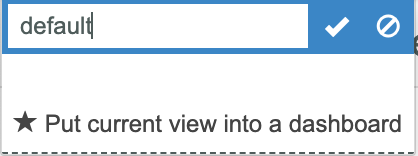
- Enter the desired dashboard name ( default in this example) and click the Save dasboard
 button or press Enter.
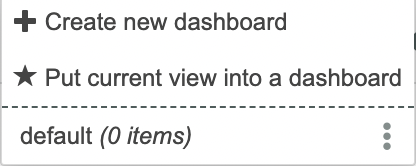
- The default dashboard is added to the Dashboards drop-down menu.
Adding Slices to Dashboards
To add a slice to a Dashboard:
- Create a slice which you want to add to a Dashboard.
- Click the Dashboards drop-down menu on the u-Slicer navigation panel.
- Click the Put current view into a dashboard button from this drop-down menu.
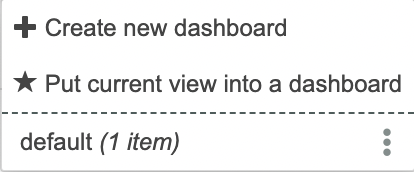
- The slice is added to the dashboard.
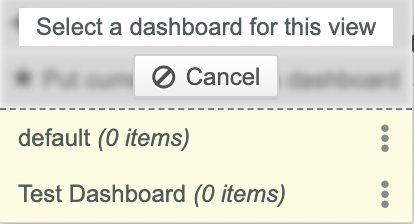
- Click the dashboard name to see your slice in the dashboard.

If several Dashboards exist, select the required Dashboard from the drop-down list.
- You can also add slices to Dashboards by selecting them from the Bookmarks drop-down menu on the navigation panel (If such slices are added to Bookmarks).
Setting Chart Background Colors
To set a background color for a particular chart:
- Click the
 button in the upper left corner of the target Dashboard Item.
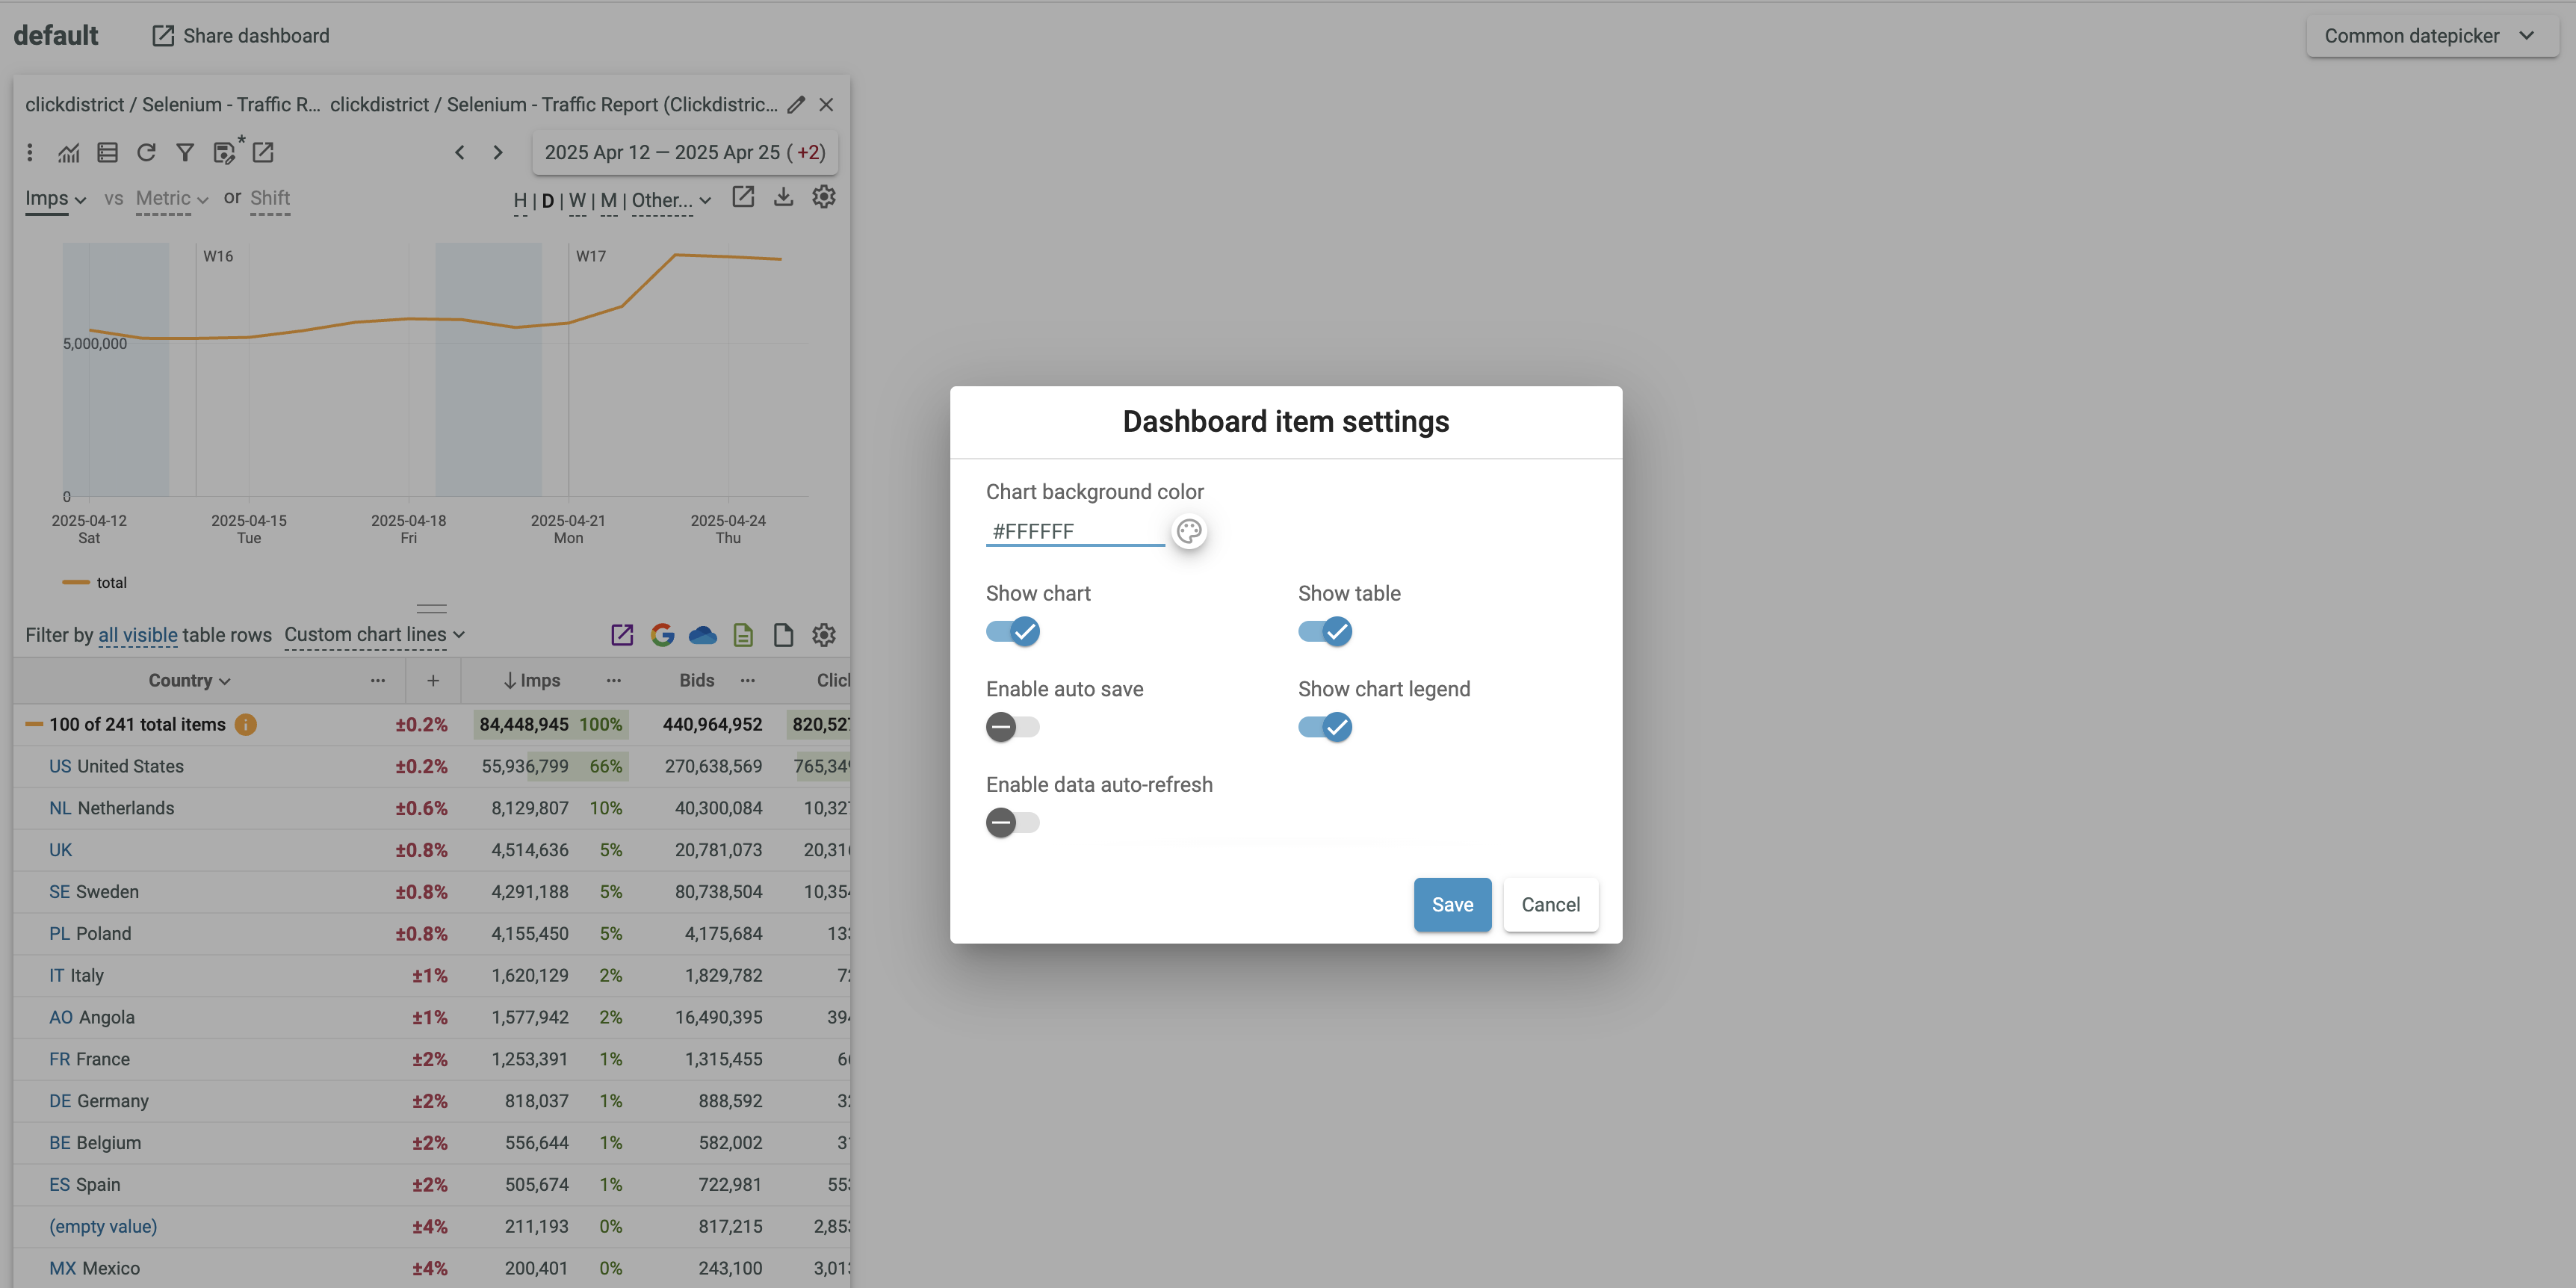
- Enter the desired chart background color into the Color box or click the Change chart background color
 button in the appeared Dashboard item settings dialog box and select the desired background color from the appeared palette.
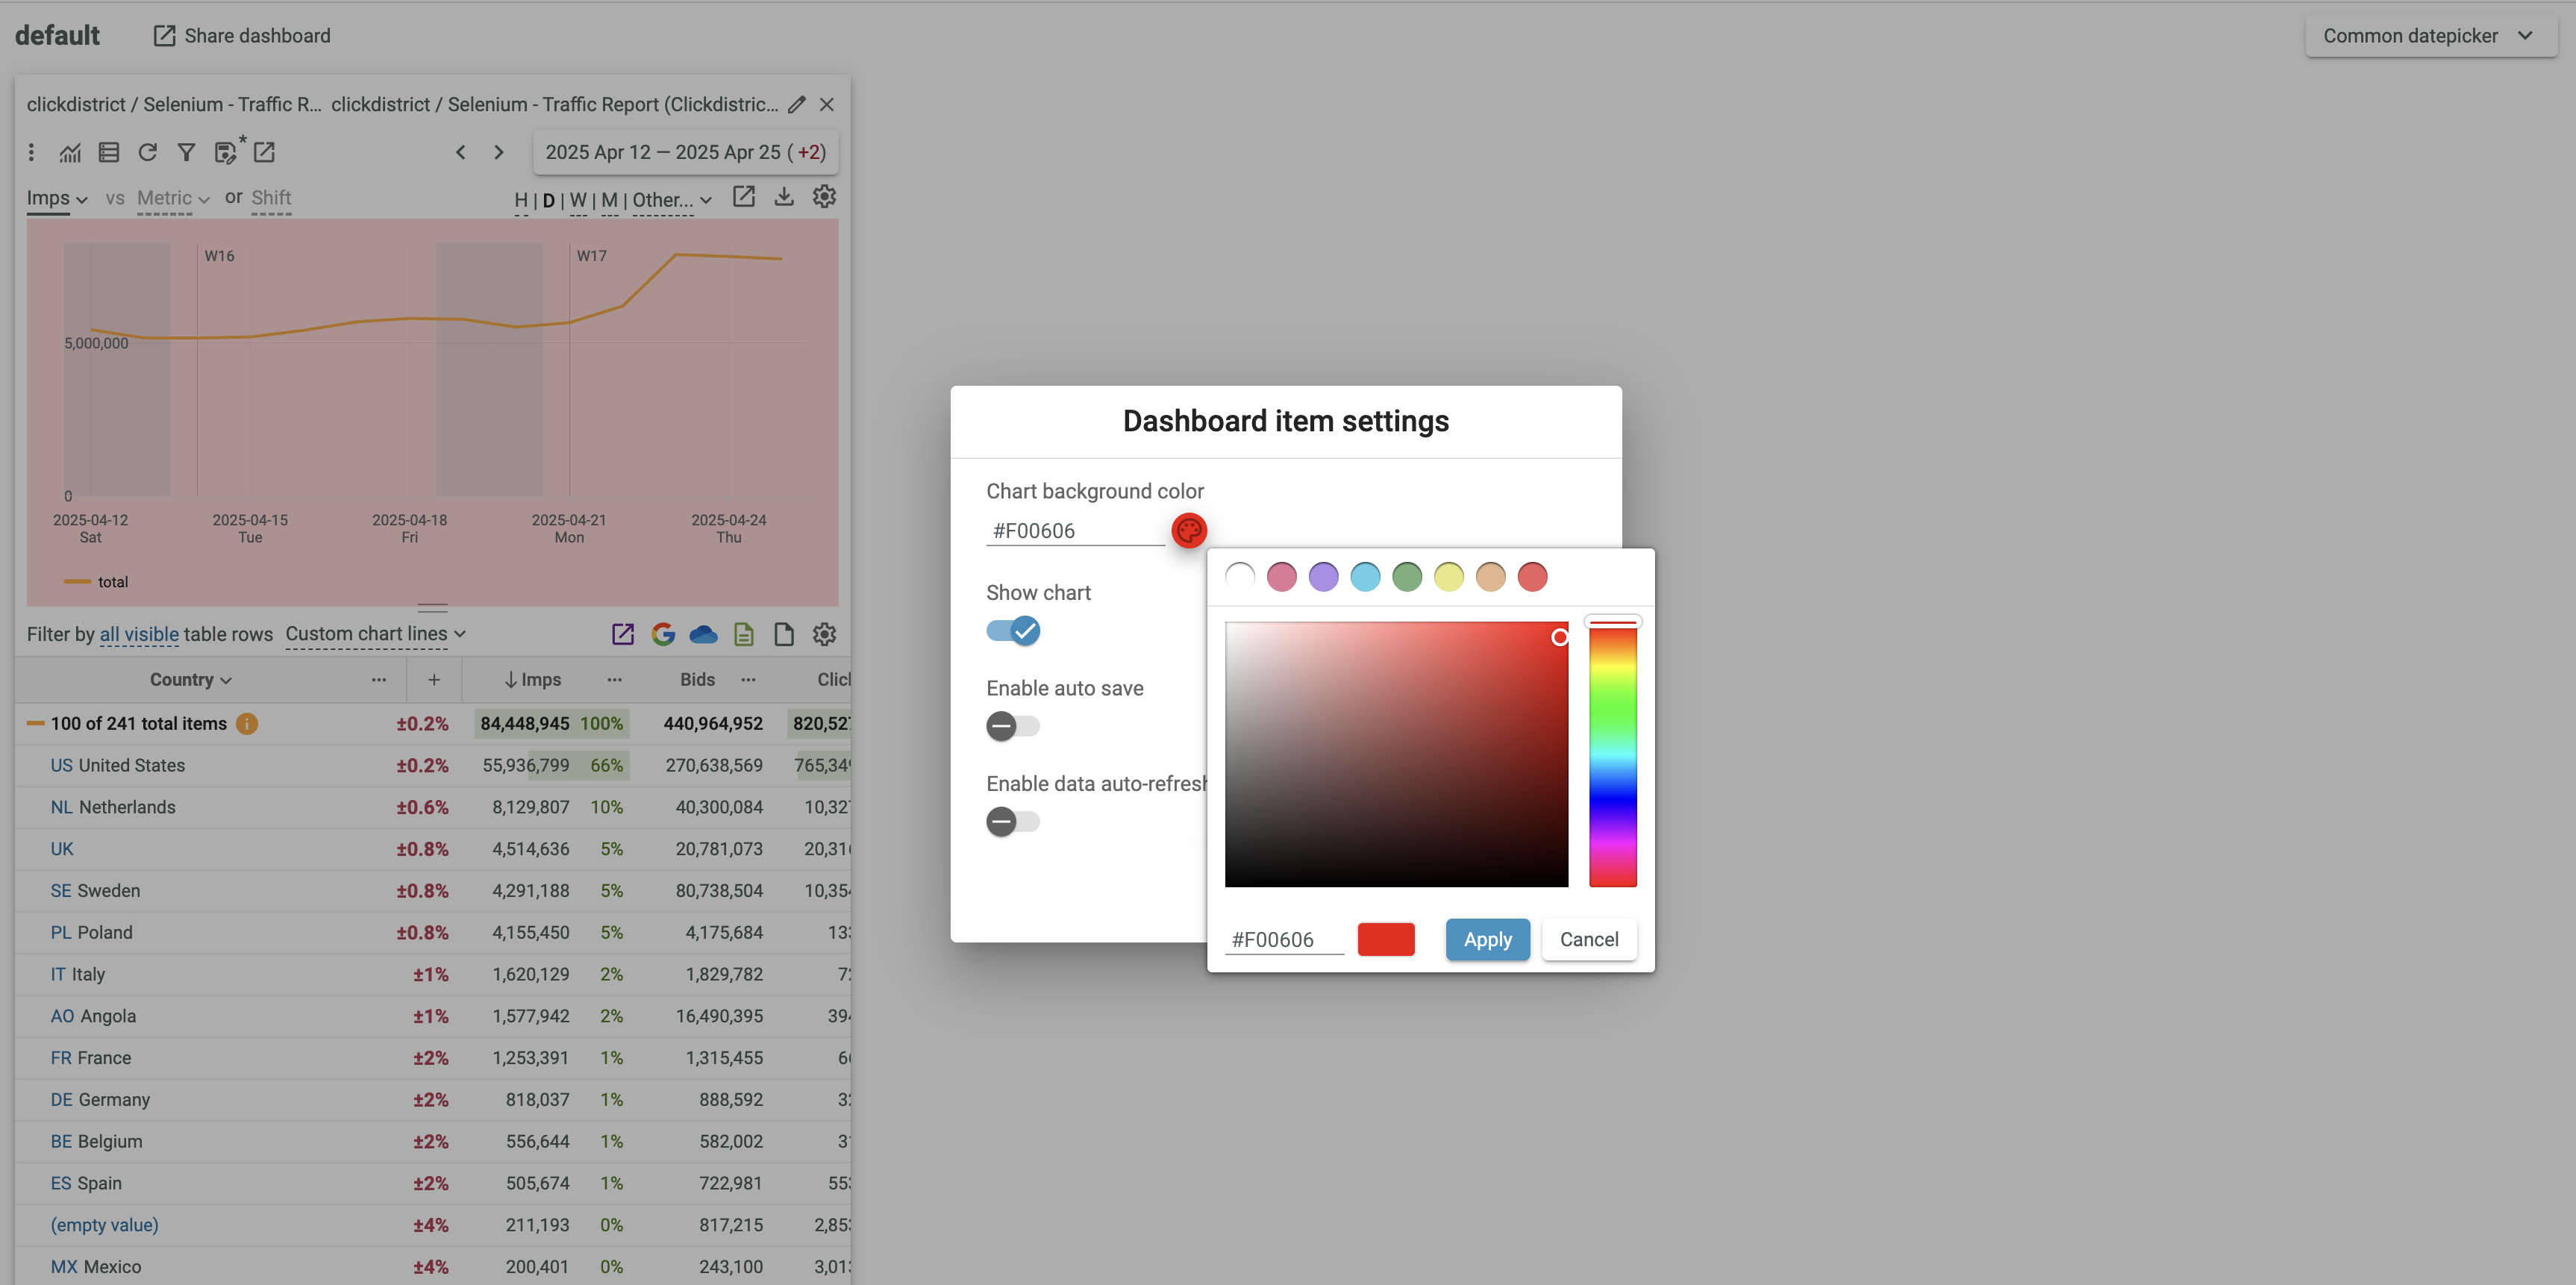
- Click the Apply button.
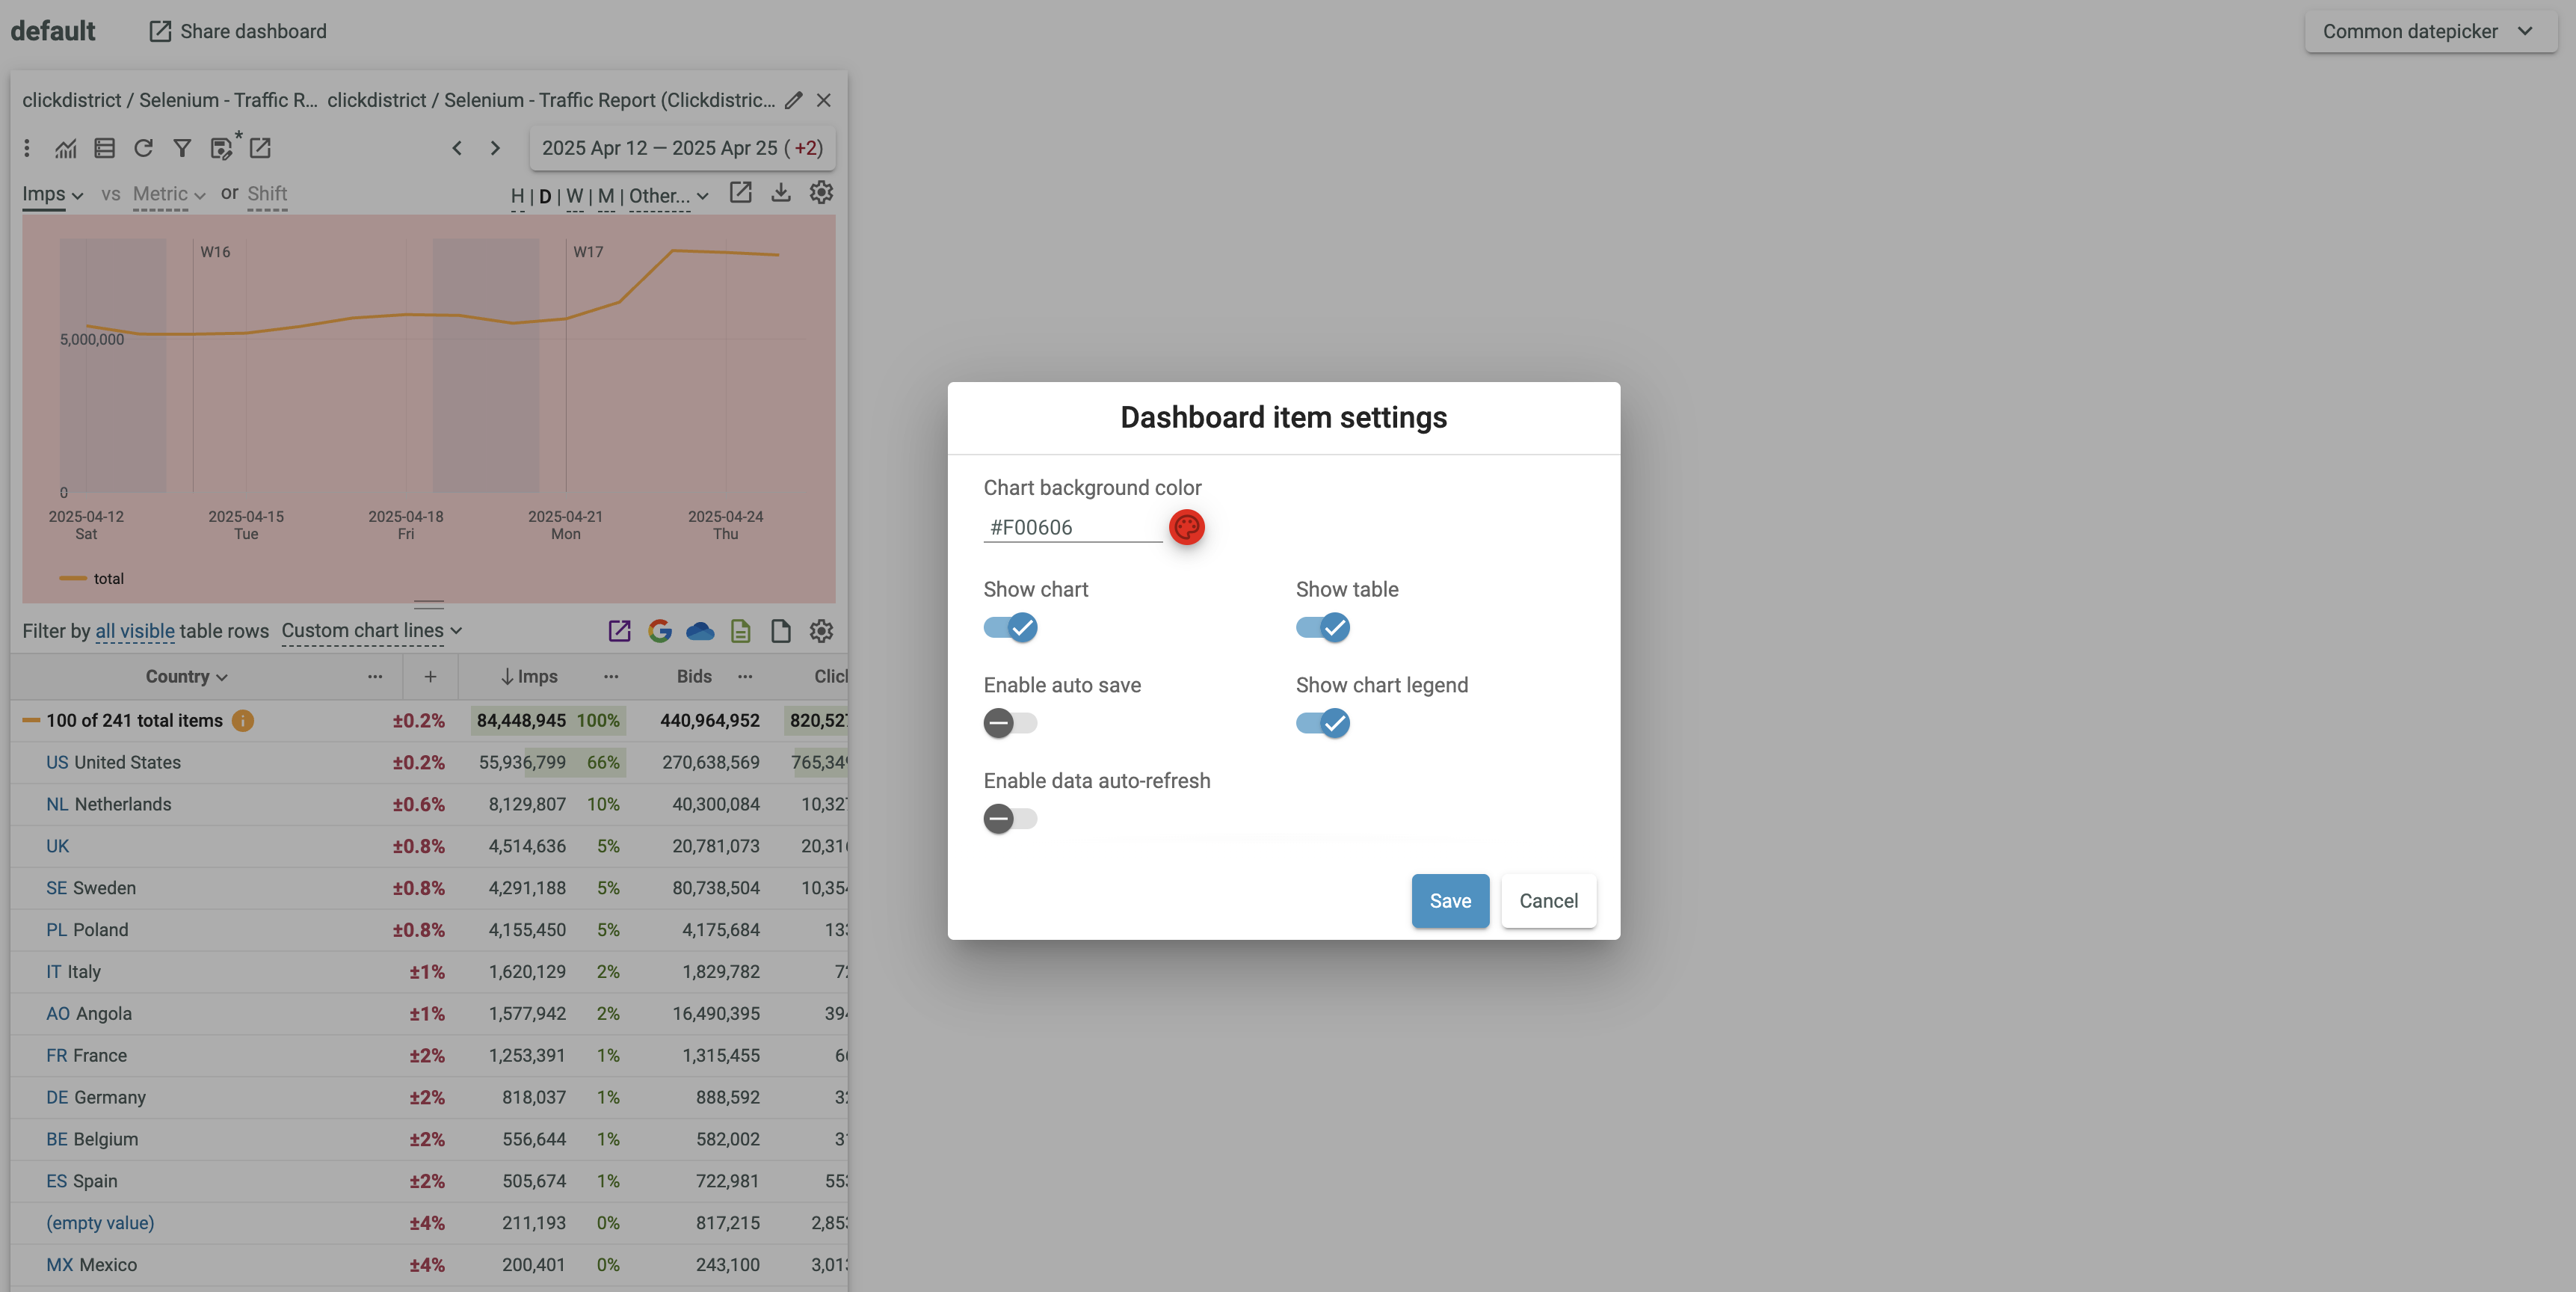
- Click the Save button.
- You can also enable auto save.

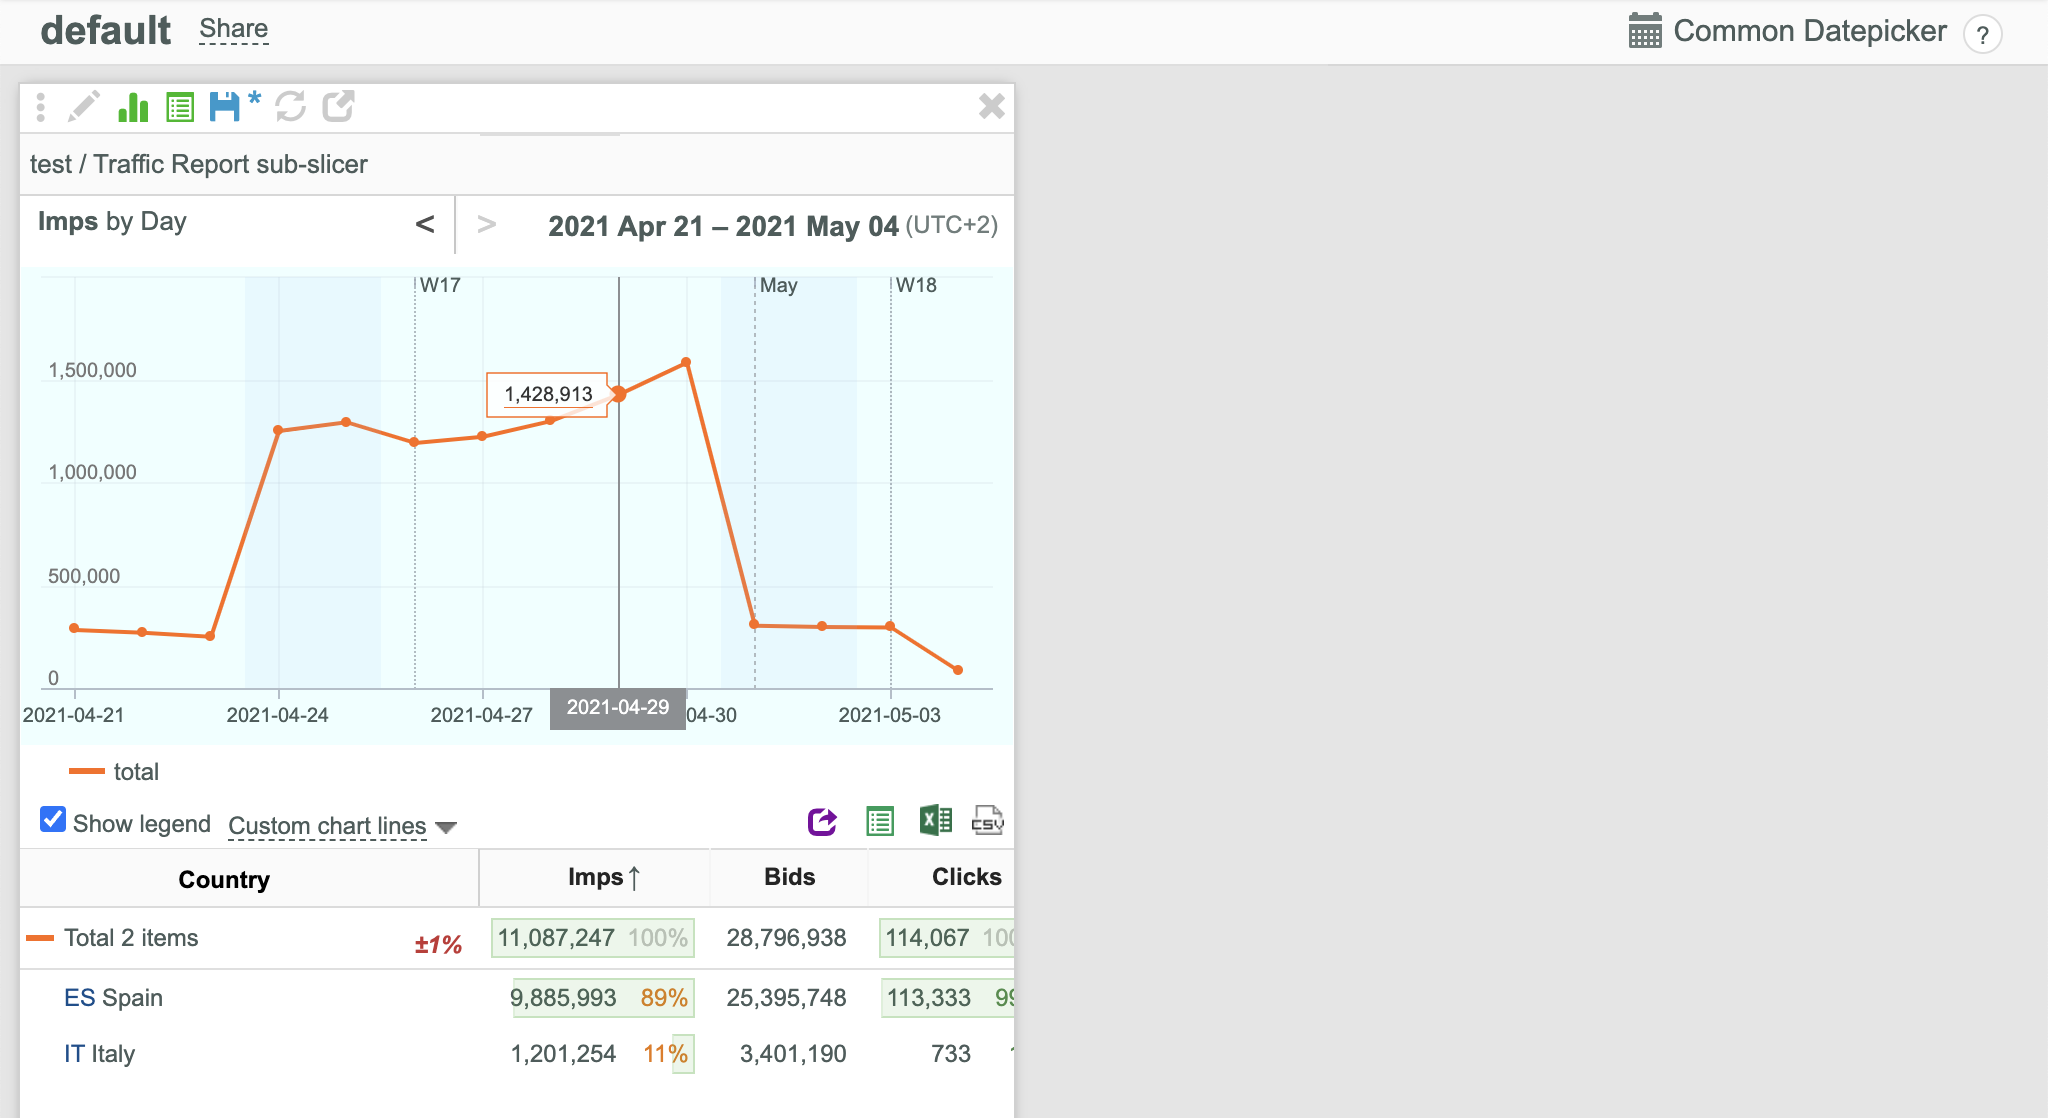
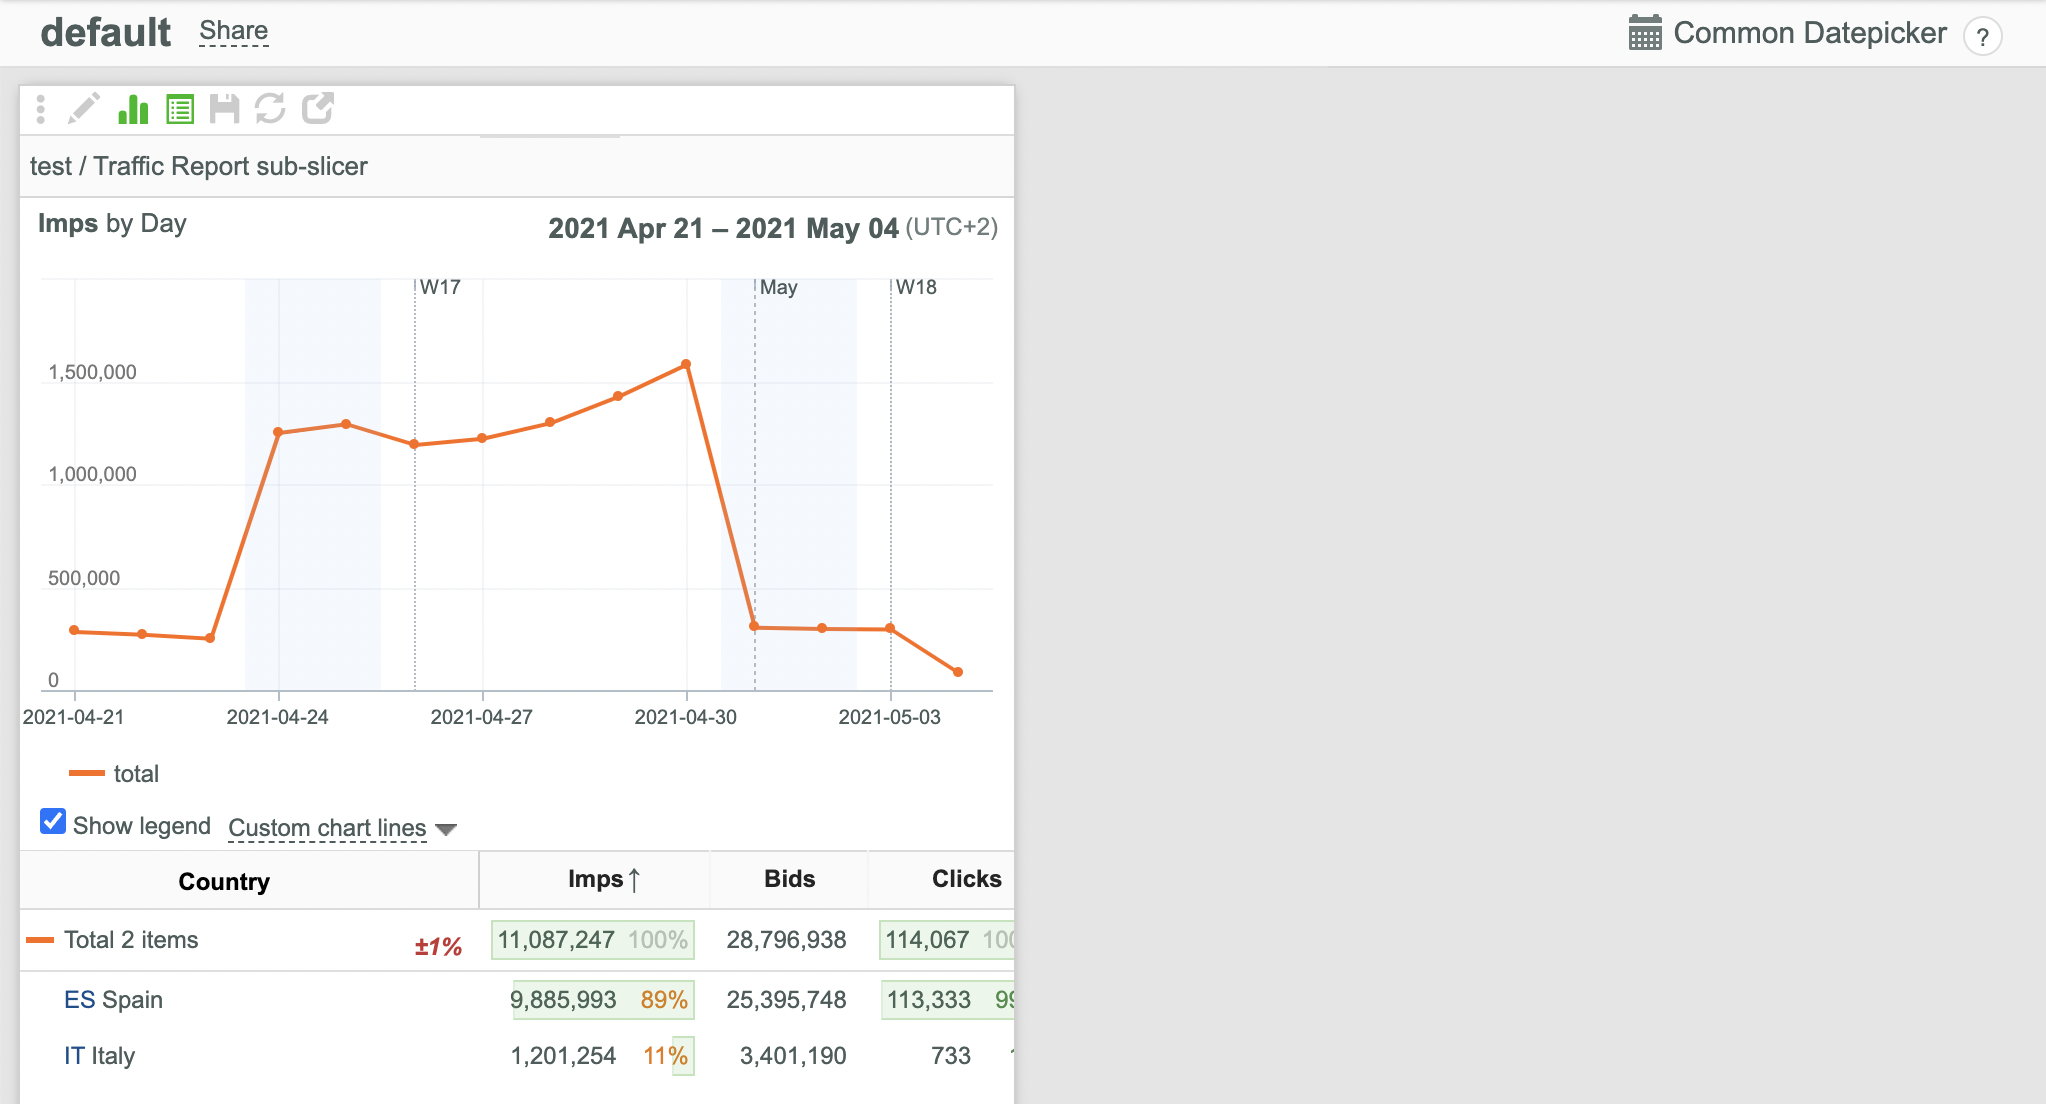
Displaying/Hiding Chart Legends of Dashboard Items
To display/hide a certain chart legend:
- Switch on/off the Show chart legend option.
Displaying/Hiding Data Tables of Dashboard Items
To display/hide a certain data table:
- Switch on/off the Show table option or click the Grid visibility
 button.
Displaying/Hiding Charts of Dashboard Items
To display/hide a certain Chart:
- Switch on/off the Show chart option or click the Chart visibility
 button.
Removing Items from Dashboards
To remove a certain item from a Dashboard click the corresponding  button.
Using the Advanced Filter in Dashboard Items
To use the advanced filter for a Dashboard item:
- Click the
 button in the target Dashboard item.
 - Use the advanced filter in the same manner, as in your common slicer.
Sharing Dashboards
- Open the dashboard to be shared.
- Click the appeared
 button in the upper left corner.
 - Take the appeared dashboard short URL and share it with other concerned users.
- If a particular user doesn't have access to dashboard items the corresponding error message is displayed.
Setting the Same Data Range for All Dashboard Items
- Open the Common datepicker dropdown menu in the upper right corner.
- Select the requiied date range in the appeared Calendar control.